Tuesday, July 23, 2013

Basement Mudroom - DIY

DIY'ing My Mudroom:


Our garage enters into our basement "mudroom".


It is a very small "room".  I would call it more a hallway with a collection of doors leading to several other areas of the house.


After finishing the laundry room (doors on the far right side of of picture above), I wanted to do something in this area too.

BEFORE:
The before didn't have the wood boards on the wall - I just forgot to take the before picture until after I had started the project, but you get the idea...nothing was there.
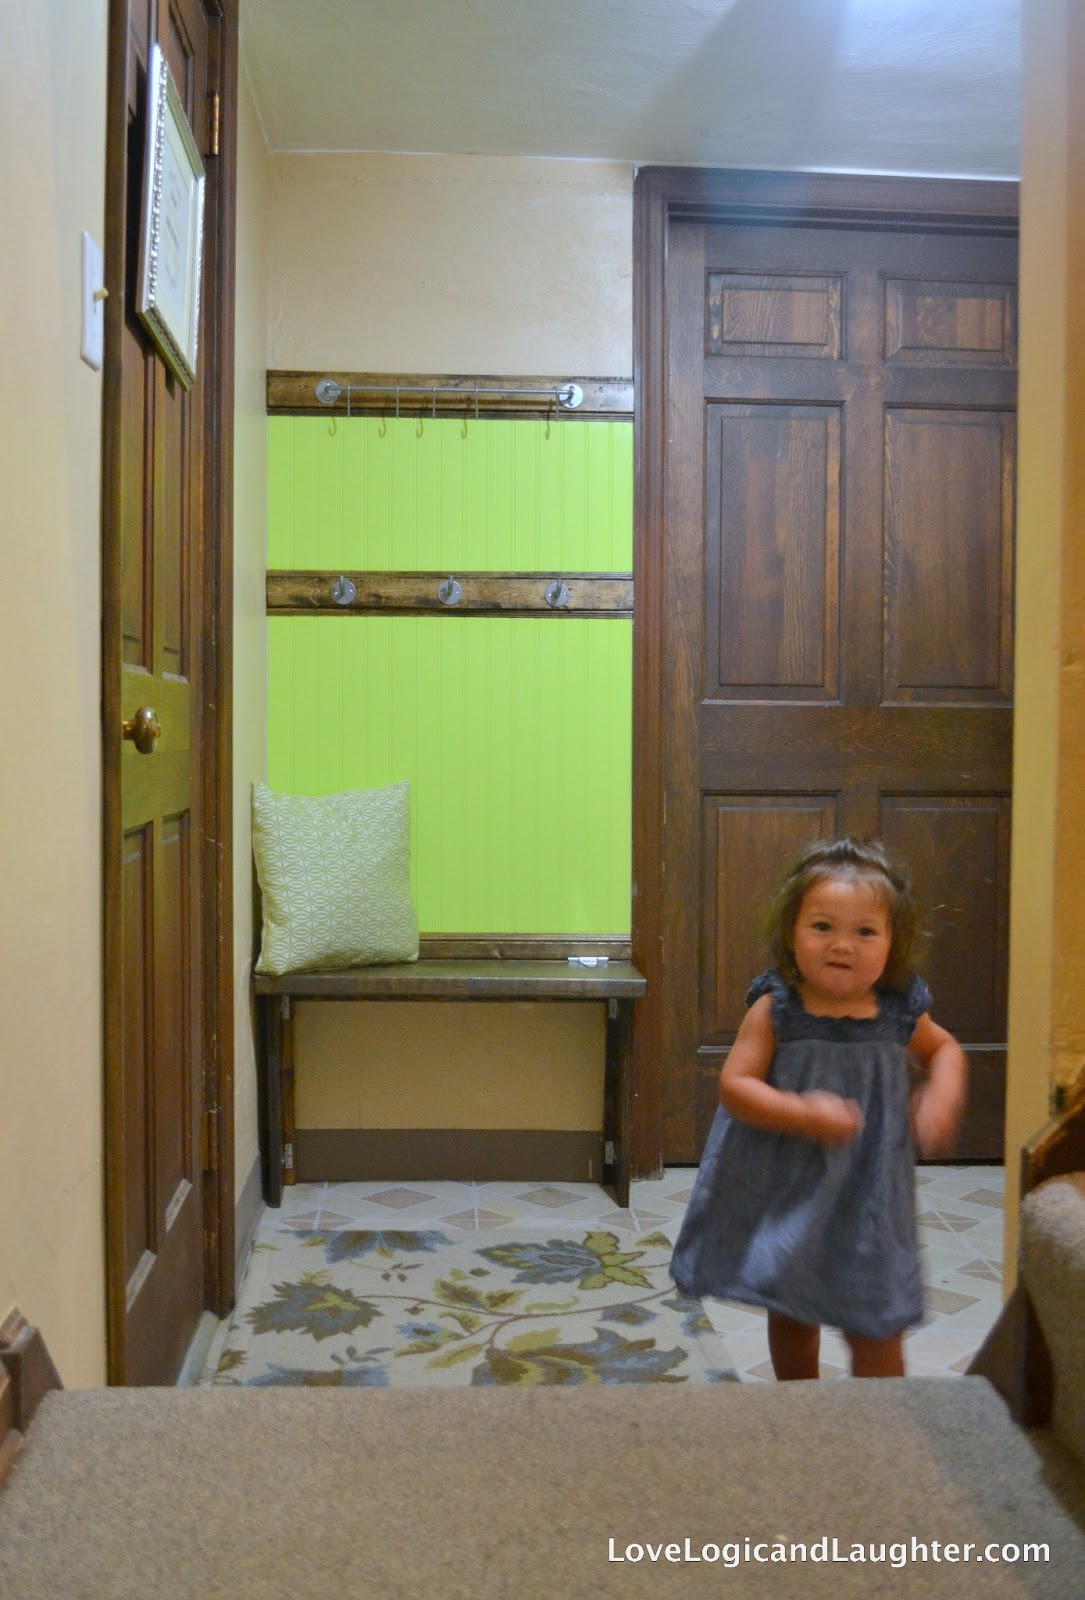
AFTER:

I have always dreamed of having a mudroom with a bench and cubbies and hooks...but my space is way too small for an elaborate built-in. So I compromised and built a very small bench with just a few hooks above it.


Twice a year we have to carry our outdoor furniture through this area to the unfinished side of the basement (one of the benefits of living in the north).  That means that the door leading to the garage/outside needs to be able to open all the way.


So, this means that my bench had to be able to fold flat against the wall so the door could open the entire way.

Bench:


No bench:


So in my very small mudroom I still got some hooks (found at Ikea):


I got my bench (even with a pretty diy pillow):


And I got some cubbies - they just happen to be on another wall (also found at Ikea):


She was wonderful to work with and even custom changed this photo design so that it would hang horizontally rather than vertically.  Thanks Nicole!  


I made the pillow cover above from a $2 fabric sample from Jo-Ann Fabric's clearance bin.

My Helper loved testing out the space:


This rug was found at Target


A few more photos:

The "legs" hinge closed

The top also hinges up flat


Wednesday, July 17, 2013

Travel Chalkboard Placemat


 Roll it open to color or eat:


Roll it closed to travel:


Did you know that they make chalkboard fabric?!  How cool is that?!  I have so many ideas for it (a table runner so that you can "name" all the dishes set out on your table, placemats with people's name's written on them for assigned seating, and so much more!!!), but for this project I made a travel chalkboard / placemat for Eliana.


I made a small pouch to store the chalk:

The pouch velcros right onto the chalkboard so it doesn't get separated during travel:


It rolls up:


And gets tied together:

 It rolls up pretty compact and when unrolled it the size of a large placemat


Two fabrics were used:  1. chalkboard fabric and 2. laminated fabric 


The laminate fabric is great because it can easily be wiped down.  That way when we take it to a restaurant for entertainment both food and chalk can be wiped away.  The laminate side can even be used as a placemat/eating area for a young toddler instead of a plate.


To make your own: Cut out two rectangles from your fabrics (chalkboard fabric and laminated fabric).  Place the wrong sides together and serge around the outside. 


Then sew on the ribbon so that it can be tied closed.


And of course sew on a label if you have one :-)

To make the pouch: cut out two smaller rectangles.   Fold the long side up 3/4 of the way and then serge around all four sides (you serge the pocket as you are serging around the edges). 

I then used Fray Block on all corners to keep my thread from unraveling.

Wednesday, July 10, 2013

Operation Organize - Upstairs Hall Closet

Organizing our upstairs hall closet:


Our upstairs hall closet was a catch-all for medicine, nail polish, sheets, towels and many more items...


I found some pretty bins that fit the space almost perfectly and started organizing!


The blue bins were found at Target and the green bins were found at the dollar store


I also purchased a label maker from Target to help keep the items organized.


My green bins are organized and labeled with: 
Cold and Cough Meds, Stomach Meds, Baby/Child Meds, Nail Polish, Shoe Polish, Teeth (extra tooth brushes), Eyes (extra contacts and contact solution), Wraps/Braces, extra hair items (brushes, hair clips, blow dryer).


My blue bins are organized and labeled with: 
"extras" (refills on items used frequently such as soap, deoderant, etc.), Band-Aids/First-Aid, Hot/Cold (ice packs, creams), Sunscreen/Bug Sprays


I also labeled the shelves below the bins.  


My sheets are organized in piles by size


My pillow cases are folded and inside a bin


My Hand towels are folded behind the white bin and wash cloths are inside the white bin


And our towels sit on the lowest shelf


There are two large white bins (from Ikea) on the floor that hold our extra blankets (wool blankets, blankets for in the park and extra down blankets for the winter months).


Our beach towels sit on the very top shelf.


Doors Open/Doors Closed


Eliana helping me organize :-)