Saturday, June 29, 2013

Cedar Chest File Cabinet Ottoman


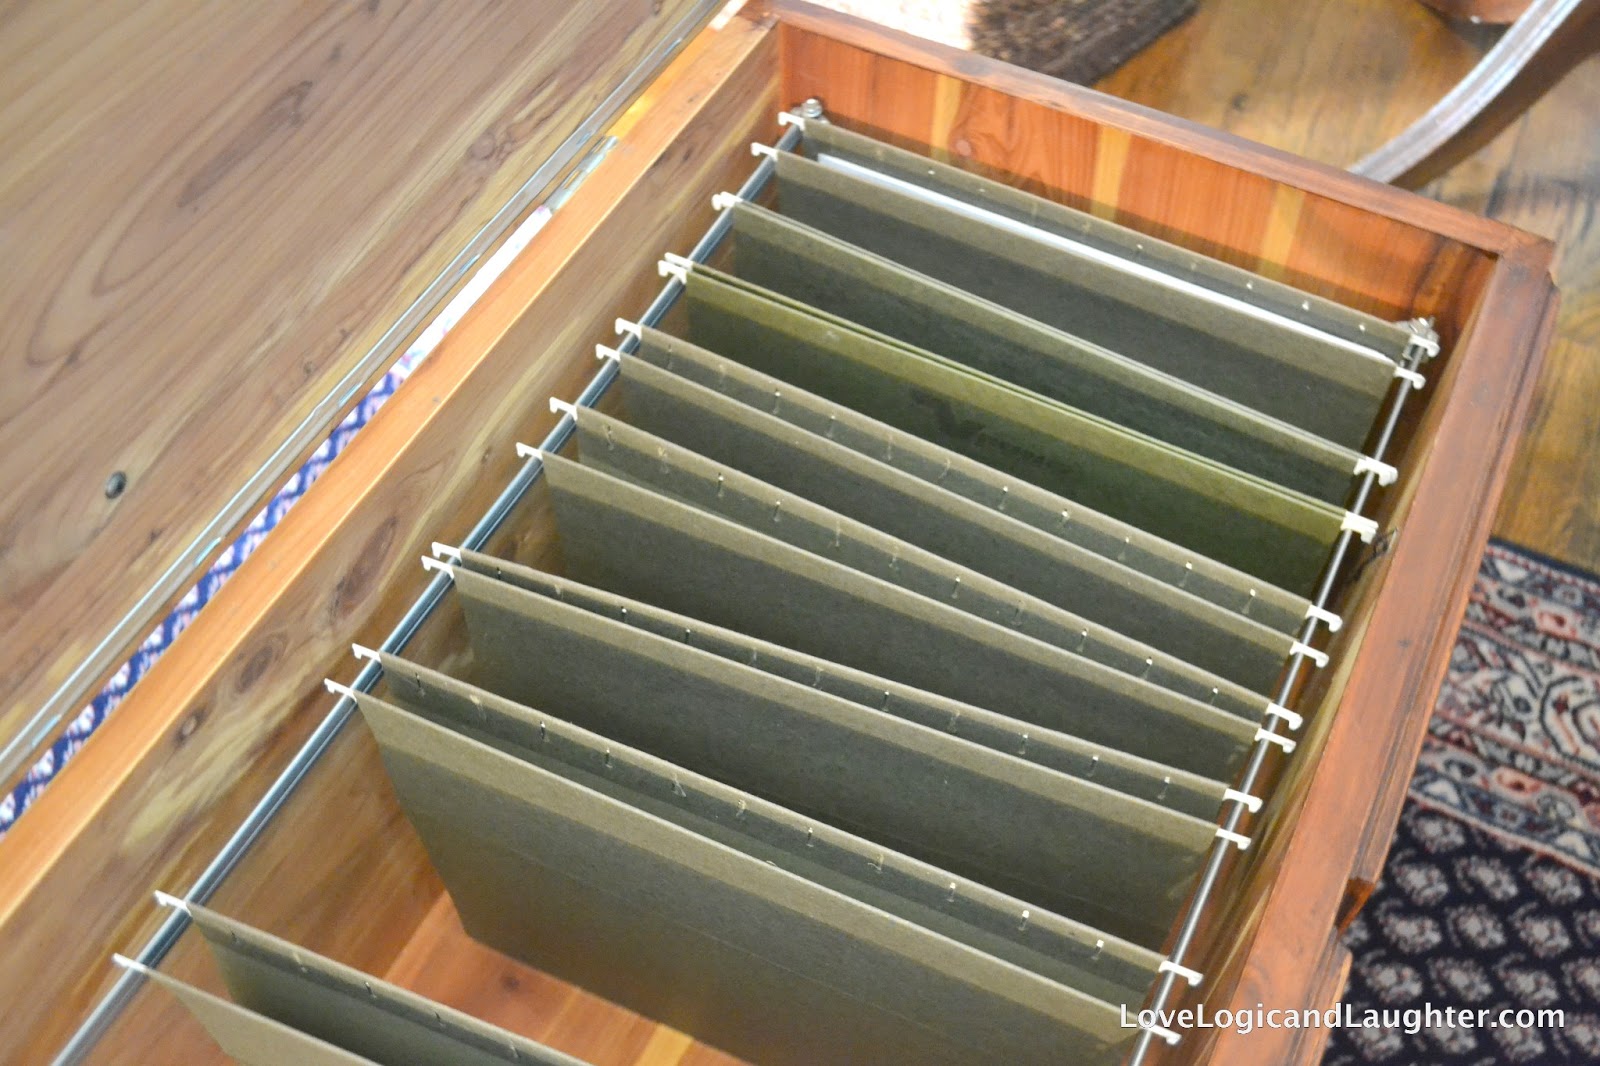
One of my good friends, Kim, showed me how she transformed an old cedar chest into a file cabinet!  


Brilliant!


We have one file drawer in our house that is filled to the brim - we have files from old taxes, old houses, adoption papers, etc.  So, when redesigning our office into a reading room I decided to use an old chest as the coffee table/ottoman knowing I would use the inside as file storage.


It works perfectly as a place to put your feet in front of the sofa


or set a book or coffee.


I used an outdoor fabric for the top.  That way people (children) can sit on it, put their feet on it, and even spill a coffee on it and it will be OK.


 I love the bold red ikat fabric!  It coordinates well with our rug and sofa, but adds a slightly modern touch to the other more traditional elements in the room.


It was in pretty bad shape when I found it (on Craigslist):


You can see the bottom right and upper left corners were damaged.


After a little sanding and re-staining the new corners just add character to the piece.


I also switched out the hardware.


And, of course I recovered it.  To see how I recovered it check out my previous post: Recovering a Foot Stool.  I used the same method here.


I love how it looks from our front hallway.


When you walk in our front door and look left down the hallway it adds a bit of fun color!


Tuesday, June 25, 2013

Box Pleat Valance Tutorial - Sewing a Valance from a Target Curtain Panel

I recently posted photos of my new curtain in my also new "Reading Room".


I found a wonderful "how-to" from Living Solutions The Blog: Ideas and Inspiration

I altered her tutorial just a bit and made my own box pleat curtain.  She does a great job describing how to measure how much fabric you will need with the addition of the pleats, hems, etc.

For my curtain I only wanted 1 pleat.  For each pleat you need to add 8 inches of fabric.  So, this is how I did my math:  my window is 46" wide.  I wanted my valance to be 47" wide (just wider than the window).  So my fabric needed to be 47" plus I added 8" for 1 pleat, 1/2" for 1/4" hem on each side, 7" for the 3 1/2"'s on each side of the board to wrap around and an additional 1" to wrap around to the back of the board to staple it.  Therefore my fabric was 63 1/2" wide.  

I wanted my valance to be 16" high.  I measured 16" plus 3 1/2" for the width of the board it would attach to, plus 1" for hemming allowance around the top and bottom.  So my fabric was 20 1/2" high.


I used a Target curtain panel for my fabric.  I happened to be walking through Target and found a curtain panel for $20 in the perfect color.  For the amount of fabric you get, it is quite a deal!

Measuring before cutting my fabric (63 1/2" X 20 1/2")
Finding the center of my fabric and pinning my pleat.
Pleat pinned - each fold is 2"
I factored a total of 8" for my 1 pleat

Before sewing, iron your pleat(s)!
After sewing my pleat into place - I sewed down the middle on both sides about 6 inches
View of the sewn pleat from the back
I then placed my curtain onto my lining fabric and cut my lining fabric to the same size.  I then pinned the right sides together of my lining fabric and my curtain fabric
I then sewed around the top and 3/4" of the way around the sides of the fabric

I did not sew around the bottom or 1/4 of the sides.  This way I could hem them separately.

The curtain has been turned right side out and ironed
In this picture you can see that I still need to hem my lining fabric and then sew together the sides
I then hemmed the lining and outer fabric.  For the outer fabric I sewed a blind hem after serging it.
Blind hem completed on outer fabric
Blind hem completed on outer fabric (you can't see the stitching!)

I serged the lining fabric and then sewed down the sides of the valance to finish the sides.
Sewn down the sides of the valance to attach the the lining and outer fabric

View from the back
Views from the front


Views of front with back folded over 

After the valance is sewn and ironed, you need to attach it to your board.  I used a staple gun to attach it to my wood 2x4 board.  I did it exactly as is shown on the Living Solutions Blog:


She explains in detail how to wrap your corners.

My finished valance!


For more photos of the completed valance in place visit the original post:  Box Pleat Valance - DIY