Wednesday, October 31, 2012

Happy Halloween 2012


Baby Halloween / Harvest Party


On Tuesday I hosted some friends and their children at our house for a baby Halloween party.  We get together frequently, but decided to have a costume party during this week's visit since Halloween was around the corner.  Boy did we have fun and boy were they cute!

Playtime in their costumes


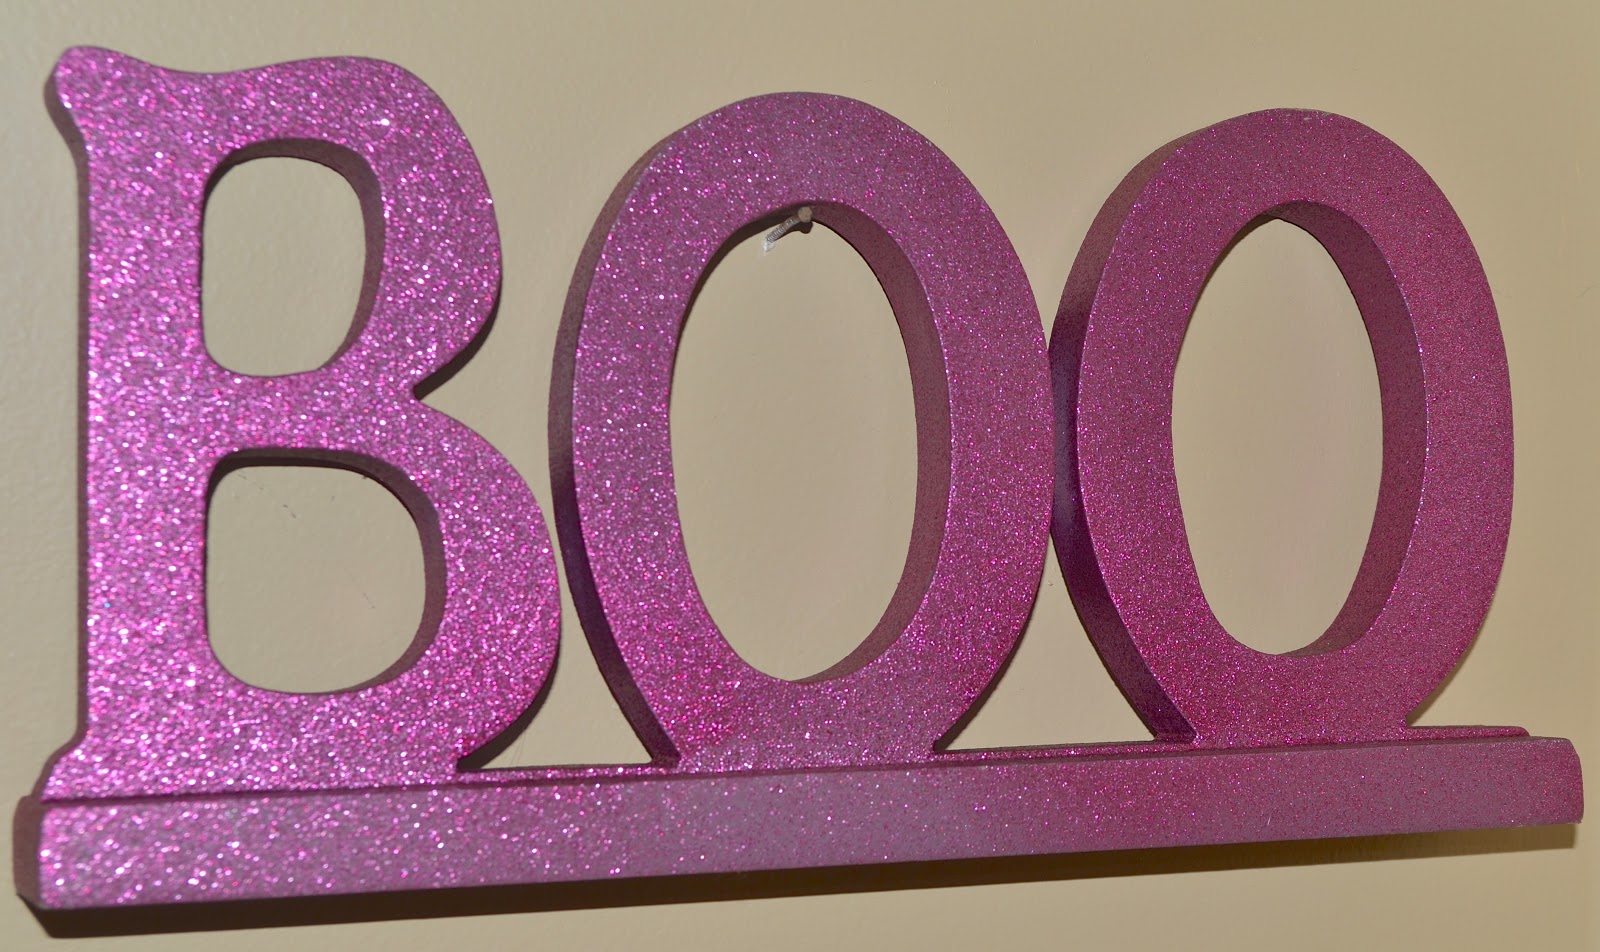
We aren't Halloween fanatics in this house.  I think the only Halloween decoration we have is a small glittery purple "BOO" sign.


Most of our Fall decorations consist of Harvest themed items like pumpkins, gourds, leaves, pinecones and chalkboards with the words "Happy Harvest" and "Give Thanks!" written on them.  So it is funny to think that I hosted a "Halloween Party".  So I am going to call it a "Halloween Harvest Party".


A Couple Of Our Harvest Decorations:


This baby themed Halloween Harvest Party was so much fun!  Playing dress-up with babies = a great time


I think my favorite part of all was the children and Moms sitting around our dining room table eating lunch together.  Slight havoc, yes.  But incredibly enjoyable at the same time.  Seeing all of our children gathered around the table eating their food while the Moms enjoyed soup, sandwiches, pumpkin cookies, coffee cake and fruit (yes, we did eat that much) was fabulous.  That is what Harvest Season is all about.  Good Food, Good Fun and Great Friends gathered together.  It just made it better having all our children dressed up at the same time :-)  I wish I had gotten a picture of everyone eating together...next time...

I don't have a picture of us around the table, so here is the table centerpiece instead...


Happy Halloween and Happy Harvest!

This "Give us this day our daily bread" sign is actually out year round - but I find it especially fitting this time of year


Remember to "Give Thanks" this Season


Monday, October 29, 2012

Hoodie Vest Dress


Follow a simple pattern to make this adorable dress!


Isn't this one of the cutest outfits?! I just love it! I found the pattern on Etsy in a shop called "Tutorial Girl". This is a picture of the outfit she models in her posting:


This is my version:


Here are a couple other views:


I made her the leggings to coordinate. They match the lining fabric of the hooded vest/dress. They are not included in the pattern from Tutorial Girl - they are something I made off the cuff (a.k.a. Without a pattern).


I recommend buying this pattern - I was really happy with it and it only cost $5.80. I am pretty sure that English is the second language of the author of this pattern. There are parts that are somewhat difficult to understand. If you have any questions about what she means at times feel free to ask and I will let you know how I deciphered it (which may be right or wrong, but it ended up all working out for me in the end).


Thursday, October 25, 2012

DIY Framed Chalkboard

An Afternoon DIY - Framed Chalkboard


Photo taken by Paul Lorei


Make your very own chalkboard with only a few supplies.


Items needed:

  • Frame
  • Plywood cut to size 
  • Black spray paint primer
  • Chalkboard paint (I used Krylon spray paint)
  • Chalk
  • Screws (slightly longer than width of plywood)
  • Drill
  • Drill bit
  • Picture hanger hardware
  • Long thin piece of wood (or paint stirrer)

I found my frame at JoAnn's in the custom framing department. It was on sale for $30. I have seen several frames since then in the same area that were custom frames that were either made wrong or never picked up. I loved the shape of this frame - it is big so it makes a statement and the colors work well with our decor.  I knew at once it would be perfect for a chalkboard!


Measure the inside of the frame (the area where a picture or canvas would fit into). Go to a home improvement store such as Lowes or Home Depot and pick up a sheet of plywood. About 1/2" thickness will probably be the right width, but measure the depth of your frame before you buy it - you want it to fit almost flush with the back of the frame once inserted.


You can even take the frame with you and let an employee help you pick the correct plywood - they are usually very helpful!

Plywood prior to painting


When picking out plywood you want to pick a piece that doesn't have any knots and is overall pretty smooth. Keep in mind that you will be writing on the surface of it.


If you do not have a power saw at home, ask someone to cut it for you to the correct dimensions. I know that at Lowes and Home Depot they will do up to 3 cuts for free on a project (and usually even more if you ask nicely and don't take advantage of them).


Once home and your plywood is cut to the correct dimension you can begin painting.


I first used a black primer spray paint. I usually use Rust-Oleum.

Primer sprayed onto the plywood
I then sprayed 2-3 coats of chalkboard spray paint onto the board.

I used this spray paint, but they also sell it in quarts of black and green colored chalkboard paint


Wait for the paint to thoroughly dry and then place your chalkboard painted plywood board into the frame.


I then used some leftover wood we had in the basement from another job to secure the plywood into the frame.

Long wood piece holds the plywood into the frame.  Plywood fits almost flush to frame so it doesn't slide around.


I screwed a piece on the top and on the bottom so that it the board was securely in place inside the frame.

Picture of back of frame.  Plywood sitting inside frame as if it were the picture
You could also use paint stirrers for this part - the paint department usually gives them away for free and they are about the same dimensions as the scrap wood pieces we had in our basement.


Lastly, I added the picture hanger onto the back of the frame.

You can buy these in the picture hanging section (near hardware) at Lowes or Home Depot


It hangs in our dining room with inspirational quotes or menus. It adds a casual feel to the room. I like that the frame was probably supposed to have a very nice picture or painting in it and we repurposed it for a chalkboard.

It was used for my sister's wedding to display the menu - it was a great meal!


The frame brings elegance, yet the chalkboard brings a fun child friendly vibe to the room.

What do you think? Do you think you will try it? If you do, post a brag picture!

Wednesday, October 24, 2012

Reversible Poncho / Cape Child Sized 18 Months


Wouldn't it be great if you could just throw a coat over your child's shoulders? A coat that is heavy enough to block some of the brisk fall wind, but not so heavy that it looks like you are heading out to build a snowman? How about a coat that snaps in the crotch so that it does't ride up around that great baby belly? Well, I wanted and couldn't find one...... so I made one!


I am very excited about this lightweight poncho!


It has a hood.


It has a snap in the crotch.

It slides easily on and off over the head. No worry about armholes.

It is like a warm blanket wrapped comfortably around your little one's shoulders, but it stays on and they can still move and crawl in it!


It is reversible.


And...it is only three pattern pieces!

A hood.

A front.

And back.


Cut two of the front and back pieces on the fold - one from the lining and one from the main fabric.

Cut four hood pieces - two main and two lining fabric.

I am going post the pattern pieces for a size 12-18 month poncho (that is the size Eliana is wearing in the pictures) along with a tutorial on how to make one of your own.

To see the full FREE tutorial and 12-18 month pattern click here!


What do you think?


Look for the Fall Poncho Tutorial - coming soon!


Monday, October 22, 2012

DIY Pinch Pleat Curtains

DIY Custom Pinch Pleat Curtains


I recently came across some beautiful fabric and when you find beautiful fabric (that is also on clearance - $4/yard!) you have to find a project for the fabric! I knew it would be the perfect fabric for curtains in Eliana's room. There were only 5 yards left on the bolt so I took it all and crossed my fingers that it was enough. I figured if I was a little short I would find a coordinating fabric to attach to the bottom. I think it was meant to be because there was just enough!


Take a look at this beautiful fabric! Perfect for a nursery, right?!


Since we didn't know if we were adopting a boy or a girl, our nursery is painted yellow and is overall gender neutral with a few pops of pink here and there that we added after Eliana was born.


Since I was planning on making new custom curtains, I also needed to be in love with the curtain rod. The rod in the nursery was white, however all the woodwork in the room is stained brown. It really didn't go with the decor. I wanted to change it too. See my post DIY Thrifty Curtain Rod to learn how to make a cheap and beautiful new curtain rod for just a few dollars.


At first I thought I would just make tab top curtains, but then I fell across this photo on the front of Veranda magazine and knew what I wanted to do....Pinch Pleat Curtains.


I just loved their simple elegance.


After searching my favorite DIY sights and fellow bloggers, I found some tutorials that really helped me make my own pinch pleat curtains.


Here is a list of the sights I referenced, but then altered slightly when I actually made my own:


I first measured the height of my curtains. Specifically the measurement from the floor to my new curtain rod. I then cut my fabric to that length plus 4 inches on the bottom and 3 inches on the top.
Laying my fabric out to measure and cut

I then cut my lining fabric to the length of the curtains. I used old sheets for the lining. You could also use Walmart twin flat sheets that sell for $5 each. Lining fabric will cost a lot more than $5 dollars.


I used a blind hem to hem the sides and bottoms of the curtains.

Sewing a blind hem
I first sewed a blind hem down the sides of the curtains.

Picture of how the sides were folded and pressed prior to cutting sheet to fit width
Sides Folded over 1" and then another 1" for blind hem
I then did a blind hem on the bottom too.

Blind Hem on Bottom
How the Bottom is folded before sewing


On the top I first folded the top down half an inch and then folded it down again 2 1/2 inches and did a regular straight stitch across the top. 

I then sewed on pinch pleat tape (bought at JoAnn's in their upholstery section) to the top and added the curtain hooks.

After placing the curtain hooks in their slots I flipped the curtain over (to the front) and used upholstering thread to sew the pleats together so that they would stay together.


There you go! Custom Pinch Pleat Curtains! 


I am so happy with them!