Showing posts with label Recipes. Show all posts

Sunday, February 9, 2014

Did You Know That Leeks Float!? {Super Easy Way To Clean Leeks}


I love using leeks.  I think they are a great alternative to onions.  Don't get me wrong...I love onions too - especially when caramelized - but leeks add a refreshingly new flavor to a food or recipe.  Anyway... I love leeks, but I don't love cleaning them... they can be gritty if not cleaned really well.


Recently I came across a recipe in Smitten Kitchen and she recommended dumping them in water after cutting to clean them.  I figured I would give it a try and was so excited when I let them go into the tub of water and they floated back up to the top!  Woo-hoo!  The grit sunk to the bottom and the the leeks rose to the top!

Did anyone else know this special trick?  If you did, then why didn't you share it with me!?!?  Any other special tricks I should know?  I felt almost foolish as I dunked them in the water thinking I would have to fish them back up from the bottom.  As they came to the top I am sure a beaming smile spread on my face.  It was such a pleasant surprise!


So next time you have a recipe that calls for leeks cut them and then dunk them up and down in a big bowl of water as you pull the layers apart.  The sand and dirt will fall to the bottom and the leeks will float on the top.

Friday, February 7, 2014

Bake a Valentine Heart (Birthday) Cake for your Sweetie

My Hubbie's birthday was last weekend.  Unfortunately (and fortunately :-) I was away on my sister's bachelorette destination weekend in Nashville.  Of course I wish I could have celebrated with him on the real day, but we made do and celebrated last night!


Eliana's favorite shape right now is a heart.  Her favorite color is red.  So Jonathan ended up with a Pink Heart Cake for his birthday...     Since it is so close to Valentine's Day it would also be the perfect cake for your Valentine!  Jonathan is of course my and Eliana's Valentine (and hopefully will be both our valentine's for years and years to come).  So, even though it is not the most masculine cake, he is deserving of a heart cake coming from his two girls whether it be for his birthday or Valentine's Day!


How We (Eliana and I) Did It:

1. Bake your favorite cake in a 9" round and 9" square pan.

2. Cut the 9" round cake into two half circles.

3. Turn your 9" square into a diamond (turn it) and place both half circles on two adjoining sides.


4. Make your favorite icing.  Spread it over your heart cake.

Here it is all together in 1 picture showing the steps:


Note: This ends up being a very large cake.  I didn't have a platter that would hold it so we opted for a very large cutting board to serve it on.  It worked out great because it was really easy to cut the cake since it was already on a cutting board!

This cake was inspired from a pinterest post I found last year.  The owner of the pin is: Katie Brown Home Workshop and her heart looks much better than mine so make sure you check out her post too!

The Story Behind The Recipes We Used:

Jonathan loves yellow cake with white icing.  He is a simple man.  I found two recipes that looked very promising and put them together - 1 recipe for the cake and 1 recipe for the icing.  The cake recipe we used was from The Smitten Kitchen - Best Birthday Cake.  The icing recipe we used was found on the Pioneer Woman's site but originally came from Tasty Kitchen - That's the Best Frosting I've Ever Had. 

The icing was very good.  I would make it again.  The cake I am sure would have been good if I had used the right flour :-/   Note to others:  When the cake recipe calls for "Cake Flour" do not use "Pastry Flour".  I went out and looked specifically for Cake Flour and couldn't find it.  So I found Pastry Flour and assumed they were the same thing (a cake is a type of pastry, right?).  So, I am going to give this recipe another try and use any flour that doesn't state "self-rising".  The cake was still good, just not great.  It had a bit of a cornmeal taste to it...  Sorry honey!  Maybe I will make this again on Valentine's Day with the right flour!  

Happy Birthday Jonathan! I love you!

For other Valentine inspired crafts check out last year's post: DIY Valentine Pillow and Tutorial!

Friday, January 3, 2014

Super Easy Homemade Bread

This is the easiest bread to make!  Promise!  Once you make it you won't believe how simple it is.  Just give it a try!


Inspired by Joy The Baker - Easy Spicy Garlic Bread

Ingredients:

1 cup (8 ounces) of warm water (between 110 and 115 degrees F)
2 1/4 teaspoons active dry yeast
1/8 teaspoon white sugar
1 stick butter
A couple tablespoons chopped herbs of your choice (use fresh if possible, otherwise dried works too)
3/4 teaspoon dried red chili flakes (optional)
2 or 3 cloves of garlic, peeled and sliced (optional)
4 cups bread flour, plus more for dusting the work surface (regular flour will work if that is all that you have)
a few big pinches of coarse ground black pepper
2 teaspoons salt
olive oil, coarse sea salt, and chili flakes for topping

Directions:

Measure 1 cup of warm water and add your yeast.  Wait for about 5 minutes for it to froth and bubble.

If your yeast doesn't dissolve and foam/bubble in the water than throw it out and start over.  Your bread won't rise if this initial part doesn't work.


While the yeast is foaming, melt your butter on the stovetop.  Once melted remove butter from heat and stir in herbs chili flakes and garlic.
Place 4 cups of flour into stand mixer with your dough hook.  Add the yeast mixture and butter mixture. Turn the mixer on low and allow it to knead the dough.  It will take about 10-12 minutes.

Once it is done it will look like a ball stuck to the dough hook and the dough will have cleaned the sides and bottom of your mixture:

Place the dough ball into a lightly greased bowl and cover it in plastic wrap (I use the same dutch oven I plan to bake it in - one less pan to clean later!).  Let it rise in a warm draft free location for about an hour.  

Or, if you have a "bread proof" button on your oven then turn it on and put it in there.

Once it has risen it will be at least double in size:

Take it out of the bowl and hand knead it on a floured surface for a minute or two.  Then place into an oiled dutch oven (or other similar pot) and cut two slashes into the top of it (make an "X" on the top) about halfway down the bread.  Drizzle a little more olive oil on top (into the X) and sprinkle with salt.  Place the lid on the dutch oven.
Here is mine with the "X" cut into the top and extra olive oil placed on the dough along with some salt: 

Place in the oven at 450 degrees F for 30 minutes.  Then turn down the heat to 400 degrees and remove the lid and bake for another 15-20 minutes (until golden and crispy on the outside).

MMMMMMM....Yummy, Homemade Bread!  I use whatever herbs we have and sometimes throw in some parmesan cheese too to make cheesy bread!  Enjoy!

Wednesday, December 11, 2013

DIY Sandcastle Cake Tutorial


For Eliana's second birthday we were on the beach vacationing.  So we made her birthday cake into a sandcastle that you could also eat!


It is most definitely not perfect!  But we used what we had while on vacation and this is what we came up with...


It was good enough for Eliana - she thought it was pretty neat!


This is how we did it: Then you can improve upon it and post your own photos!


We baked lots of cake: 1-9x13 ; 1-9" round ; 1-6" round ; 1-4" round


We made sand (above):  For the sand we toasted coconut in the oven.  We then put the toasted coconut in a food processor along with several graham crackers, some vanilla wafers and white sugar (to lighten the color).


We tiered our baked cake and added waffle cones for our towers.


We iced the cake and cones (we made a cream cheese buttercream icing - but any would work).

I couldn't have made this cake without my helper above!

We put marshmallows around the tiered layers of the cake and added one more cone on top.  (I would make sure these were covered in more icing next time so the sand sticks to them better).


We then dusted the whole cake in our "sand" (toasted coconut concoction).


Wallah!  A Sandcastle Birthday Cake for our Little Princess!


Wednesday, November 6, 2013

Because... Food Is Life!

A new cooking blog that is bound to be good!  Why create another cooking blog?  Well, the answer is in the title...

BECAUSE...FOOD IS LIFE


My sister, Nicola, is absolutely fabulous in the kitchen!  When I see her cook I am amazed by how simple she makes it look, but by how delicious the outcome!  She says things like, "Let the recipe inspire you...then create your own!"

Recipe: Parmesan Pot Pie with Pancetta Butternut Squash and Sage

About the Author:

Hello, my name is Nicola.  Isn't food the best thing ever?  I love food.  I love cooking food, talking about food, reading about food and trying new restaurants.  Most of my spare time is spent looking for inspiration and thinking about my next kitchen adventure.

Food plays so many important roles in our everyday life.  It is nourishment, health, culture, comfort.  Food is so many things!  My goal is to find a balance of all these.  I'm inspired by many ethnic foods, countless blogs and the restaurants I try with my husband Matt.  Bon Appetit!

Tuesday, January 29, 2013

Spice Dutch Baby

Recently, My Favorite Breakfast!


I have made this recipe three times since Thursday (it is now Tuesday)...so  three times in less than a week.


It is out of Deb Perelman's cookbook The Smitten Kitchen Cookbook.  She is the owner/author of one of my favorite cooking blogs, Smitten Kitchen.  It is an absolutely fabulous cookbook - I have only had it a week and have made three different recipes from it (and we were out of town for half of the week).

I altered it just slightly by substituting honey for molasses and adding a tad more cinnamon.  We were out of molasses when I had the urge to make it.  I love it so much with the honey - I don't know how it could get much better, but Deb is almost never wrong, so I say give it a try both ways.


Spice Dutch Baby:

(altered slightly from Deb Perelman's Gingerbread Spice Dutch Baby)

2 large eggs
1 T dark brown sugar
1 t honey
1/3 cup flour
1/3 cup milk
1/2 t ground cinnamon
1/8 t ground ginger
pinch of ground cloves
1/8 t freshly grated nutmeg
1/4 t kosher salt
2 T unsalted butter
Powdered Sugar and fresh fruit to serve

Preheat oven to 400 degrees.  Run the eggs in a mini food processor until smooth and pale in color (about the color of buttermilk).  Add remaining ingredients except butter and powdered sugar.  Process until smooth.  Melt butter over high heat in a 9 inch ovenproof skillet (cast iron works well).   Swirl the butter up onto the edges of the skillet as well (because it is going to puff up a bit).  Pour the batter into the prepared skillet and bake in oven for 15 to 20 minutes.  Slide the dutch baby onto a plate and serve with powdered sugar and fresh fruit.  I like to put my powdered sugar into a wire colander and shake a bit to get the dutch baby lightly coated in powdered sugar.  I serve fresh fruit (usually blackberries and/or blueberries and raspberries) on the side.  Eliana approved!

Best of all, it takes no time to make!  Less than ten minutes to prepare - by the time your oven is preheated you can stick it in to bake!  Mine is preheating now :-)


It is also fun to make these in small miniature versions using a muffin tin to cook them in:


Especially for toddlers who like things prepared in miniature versions:


Another great Smitten Kitchen breakfast recipe: Raspberry Breakfast Bars
They are almost like homemade Nutri-Grain Bars, but sooooo much better!  I have made them with blueberries and blackberries as well - all are equally good, but raspberries are my favorite!


Friday, January 11, 2013

Homemade Chicken Stock


A few weeks ago I posted on the magnificence of the clay baker!


"AT HOME ROTISSERIE CHICKEN" is a staple in our house.


Afterwards we have the carcass (fat, bones, cartilage, skin, etc.)


Rather than throw it away we make homemade chicken stock.  It is so easy that I feel like it is too much of a waste not to do it.  It cooks while you sleep - so no excuses!


How we do it:

After we are finished eating and while we are cleaning up the kitchen I throw the carcass into our crock pot.  I make sure I first remove any extra meat from it and preserve it for other dishes throughout the week (i.e. chicken noodle soup, chicken pot pie, etc.)

extra meat
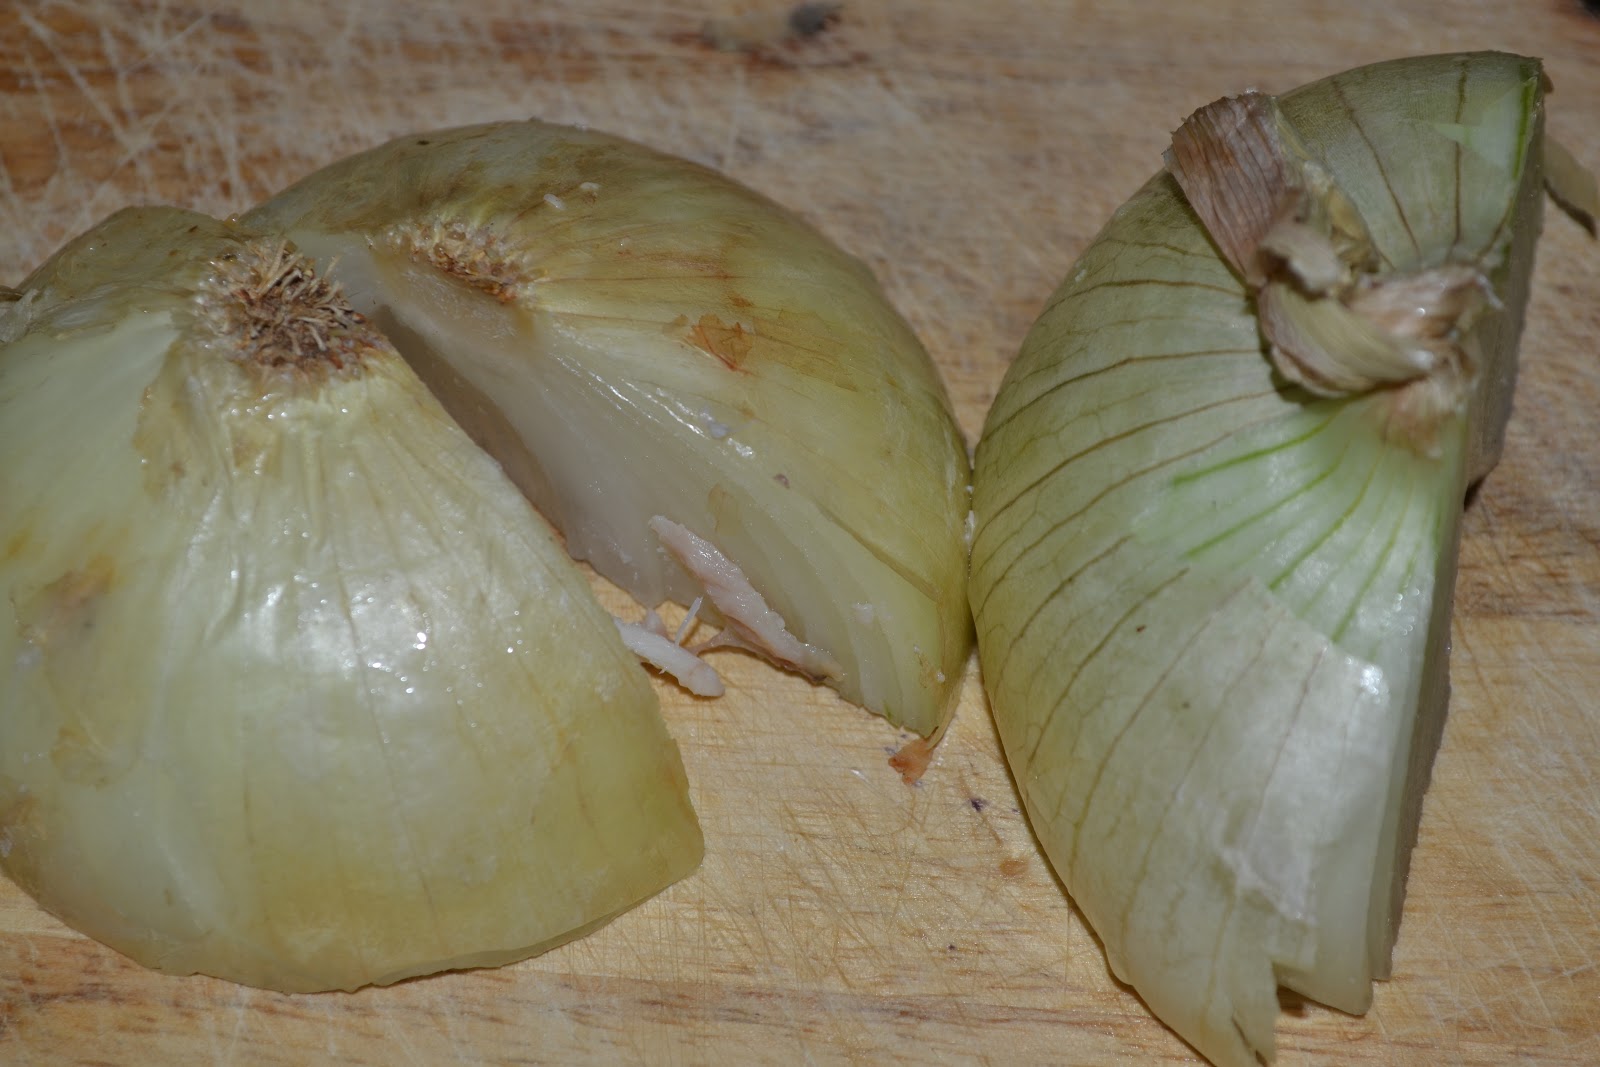
I then break a couple carrots in half, cut an onion in quarters and roughly chop (into 3rds) celery sticks.


There is no need to remove the skin from the onion or peel the carrots.  Just throw in the crock pot with the carcass.


If I have leeks in the house then I throw one or two of them in as well (see above picture).  I then put just enough water to cover everything in the pot and turn the crock pot on low for overnight.


The next morning I strain what is in the crock pot into a bowl.


Look at that yummy homemade chicken stock!

Throw away everything in the strainer - the veggies have all lost their taste and nutrition - it is all in the stock!


If you feel there is a lot of fat in the stock (it glistens on top) then place it in the fridge for a couple hours and then you can strain the fat off the top.

Easy, right!?!

Start with this:

We don't do "organic" in this house, but we do try to buy meats that are hormone and stimulant free
And get a dinner out of it:


And then also get stock out of it!